Booking settings
One of the powerful features of the Feelbettr system is the ability to track attendees for your events which includes taking registration information via the forms component.
Introduction
This section details how to implement a form you have already created in your dashboard and have it be applied to your event registration.
The screenshot below shows some of the settings available for use when configuring the booking function for your event.
- Event Seats Details the number of attendees that can attend the event.
- Booking Button Text This is the text used for the button when there are seats available for the event.
- Waitlist Button Text This is the text used for the button when there are no more seats available for the event.

Using the default form
If you have not yet created any forms in your dashboard or just need basic information for the event then you can elect to not add a form in the registration form section. In this case the default registration form will be shown.

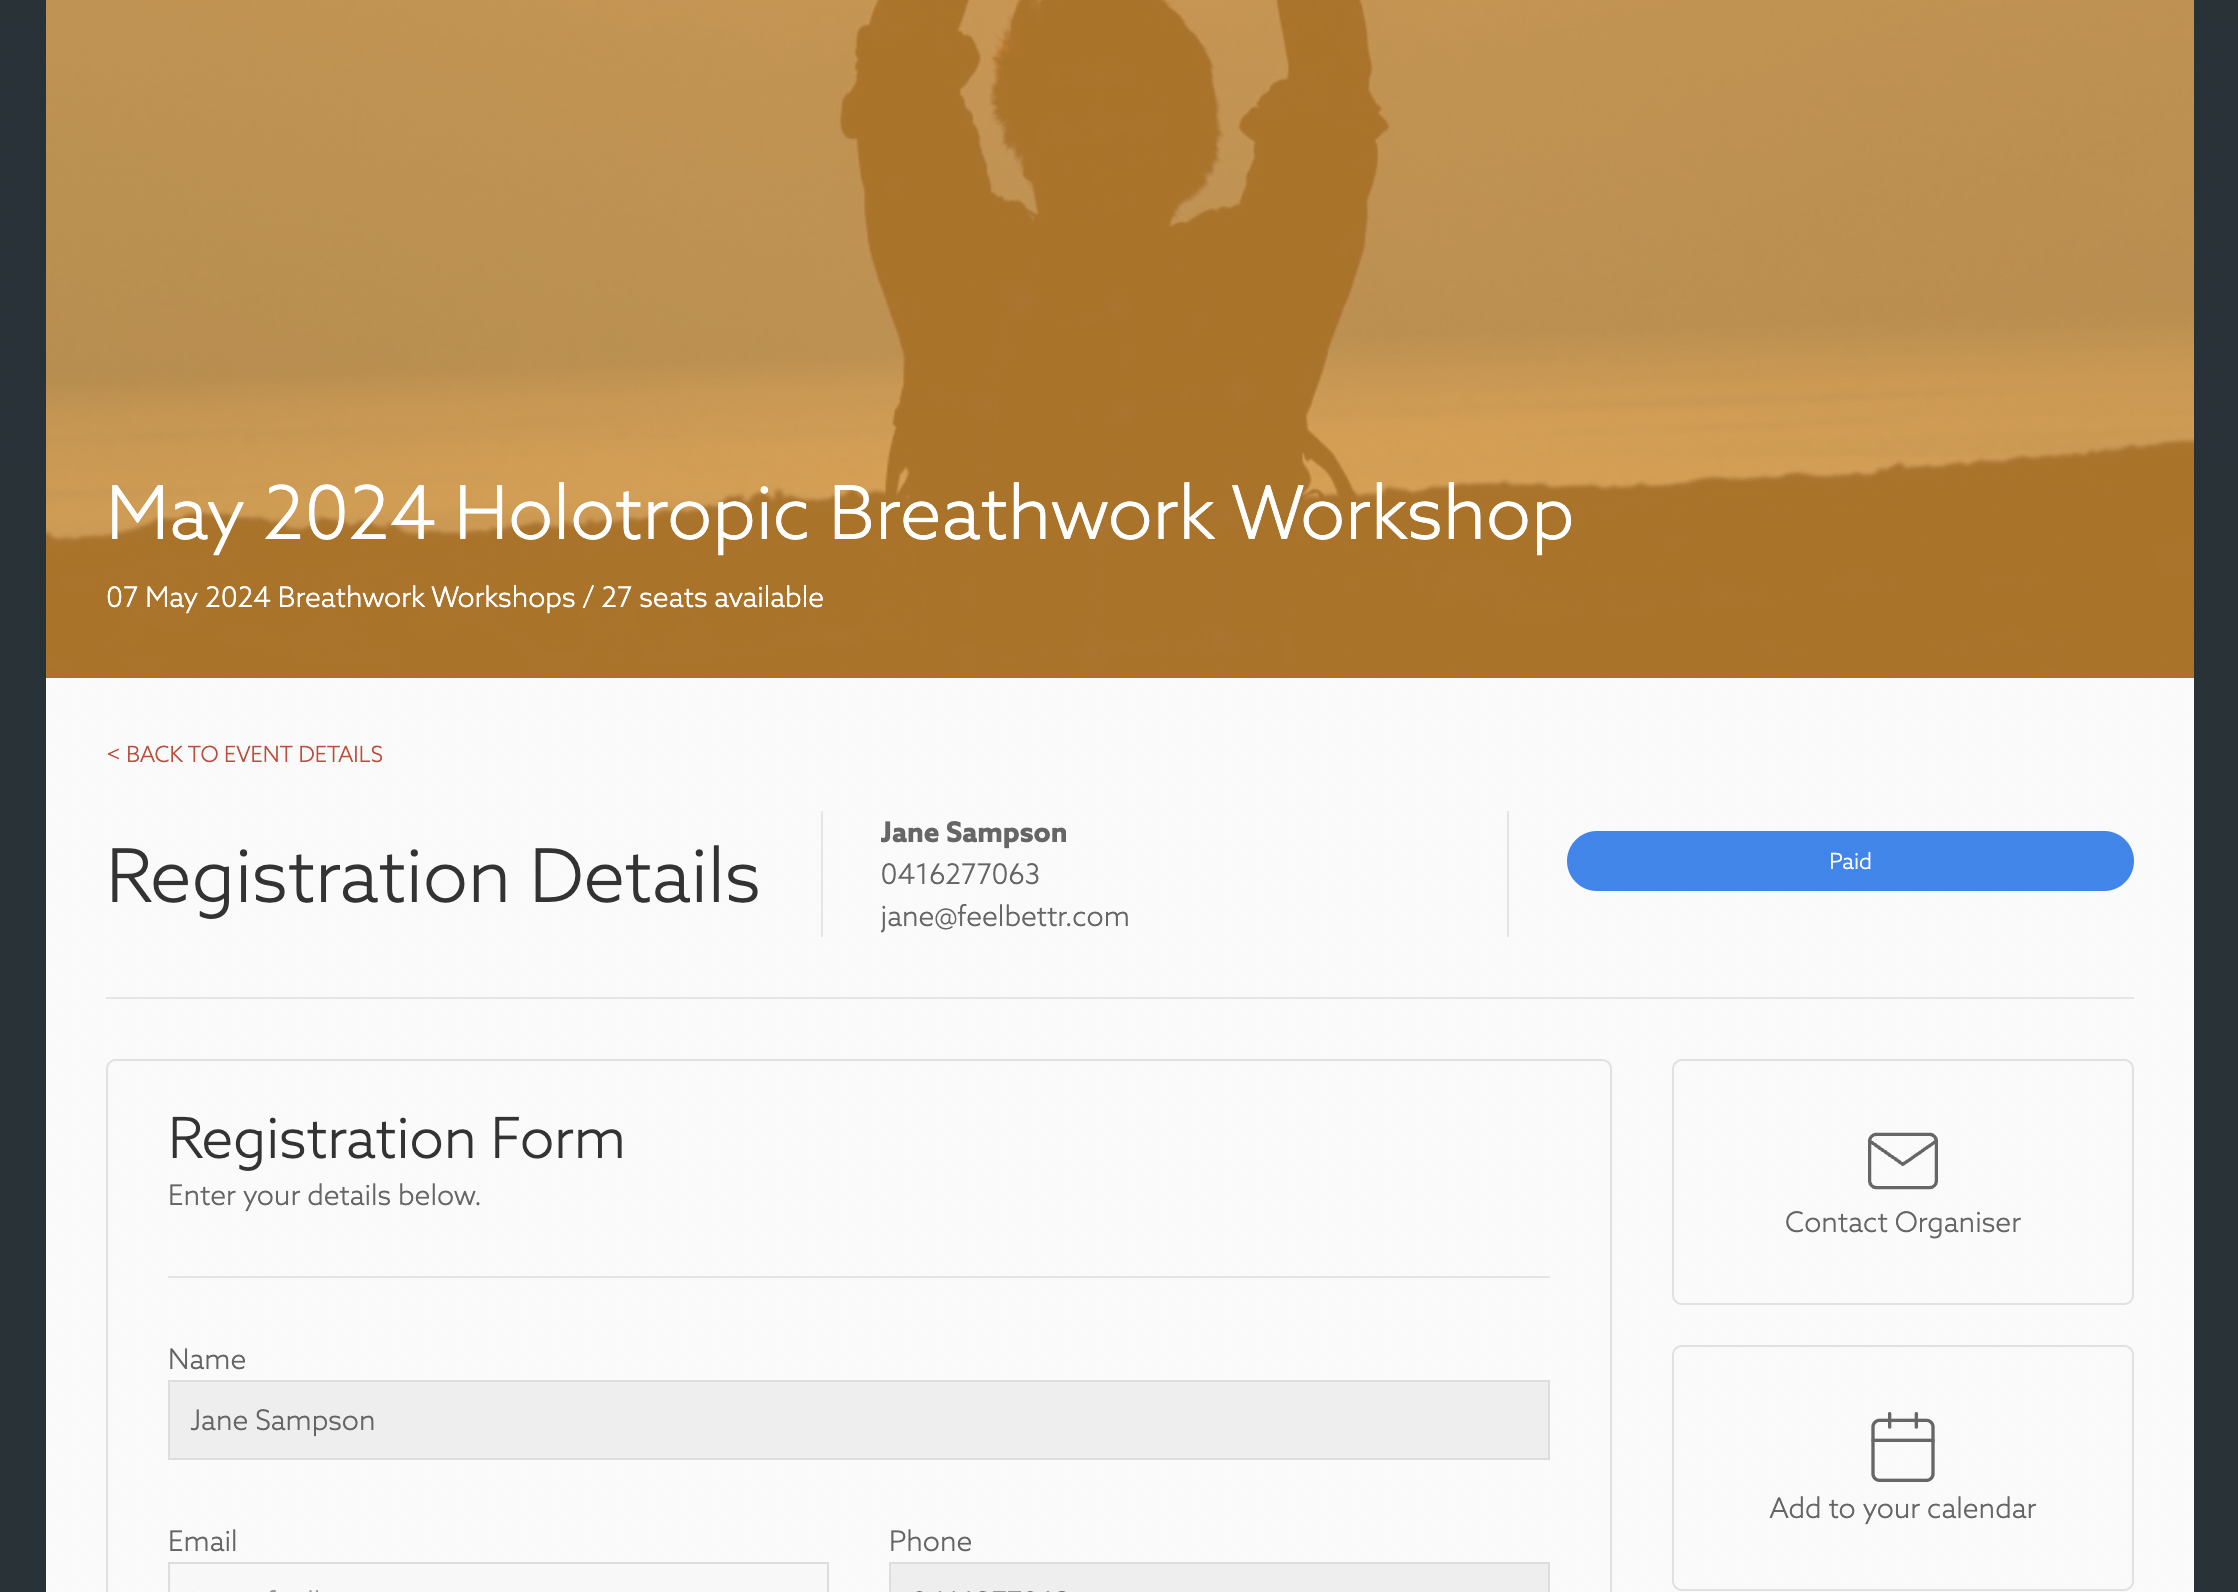
Once the user submits the form they are shown the event details page. The event details page shows a number of attributes of the event and provides the ability to update their details. Please note that it is not possible to update the email address once a user has submitted the form.
The user is also emailed with the submission details and the owner of the event is also emailed notifying them of the new registration.
Applying a form or multiple forms to the registration process
Once you have created a form it will show up in the registration form options.

In the example above I have applied two forms to be added to the event. The order that the forms are added is the order that the forms are shown to the end user.
And you can se ebelow the implementation of the multiple forms. Once the first form is filled out the user is directed to the second form to be completed.

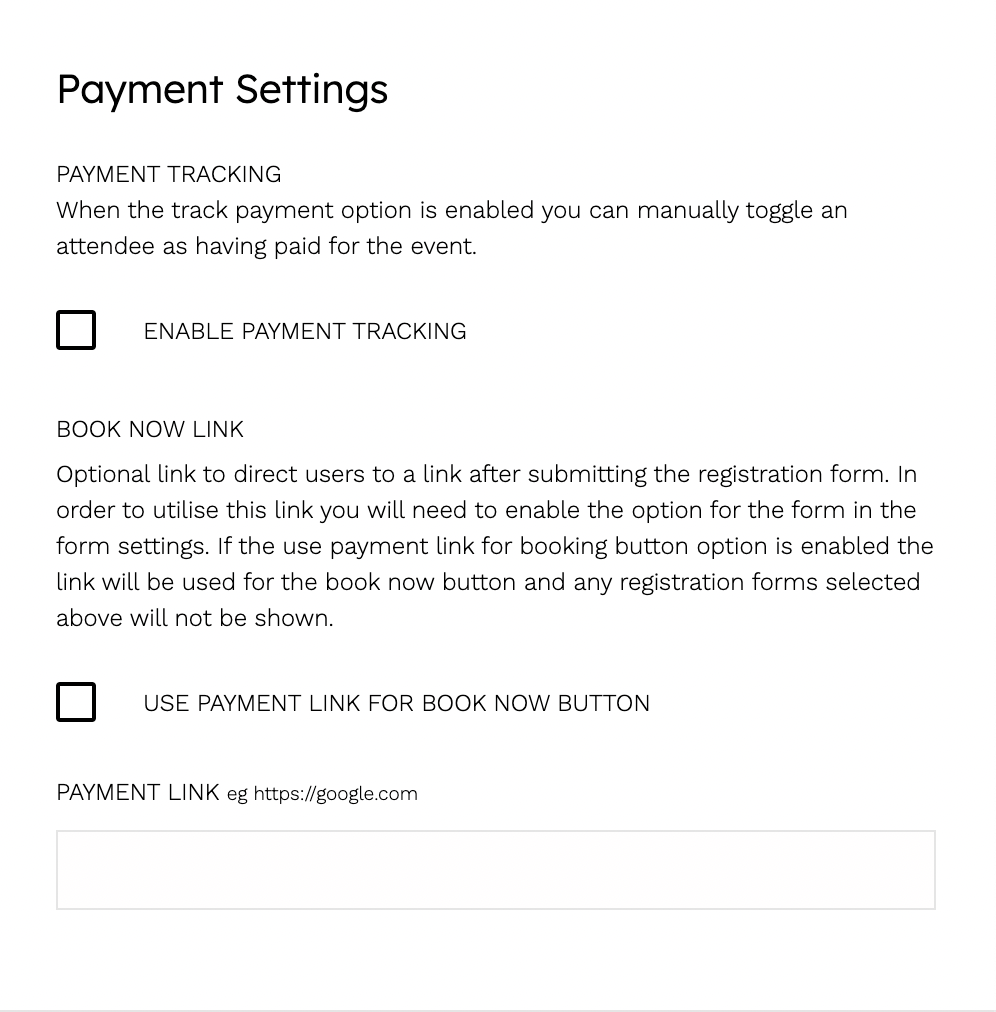
Payment Settings

The payment settings options provide functionality within the feelbettr system that includes the ability to provide manual payment tracking, specifying a payment link and the ability to relace the registration form options with an external payment of booking page.
Payment Tracking
For this release of the system the payment tracking option enables a manual tracking system in the event management. Once payment tracking is enabled the user can:
- Go to the event they enabled tracking for int he event list
- Click on the more details link to view the extra details for the event
- Click on the event seat link to the view the attendee modal
- Now you can see the shopping cart icon that when clicked will mark the user as having paid
![]()
When this option is enabled a payment link is specified in the event settings, if the user goes to the event details page there will be a pay now button in the right hand corner of the page.

And when the user has been marked as having paid, the pay for spot button is replaced with a label designating them as having paid.

Registration Emails

The emails that are sent to the user once they have registered are split into three different types.
- They are new attendees to your workshops
- They have been to your workshop before
- There are no spots available for the event and they have been put on the waiting list.
Managing Attendees

Once a user has registered for an event you can manage their attendance as well as see their registration details.
Attendee management functions include:
- Move to the wait list
- Move to attendee
- Move to a new event
- Remove from the event
- Email the attendee
- View attendee form submission details
Event attendee functions

In addition to these per attendee functions it is possible to perform the following functions for the entire list of attendees:
- Email all attendees
- Download a CSV file of the attendee details
This screen also allows you to manage the number of attendees available for the event.